
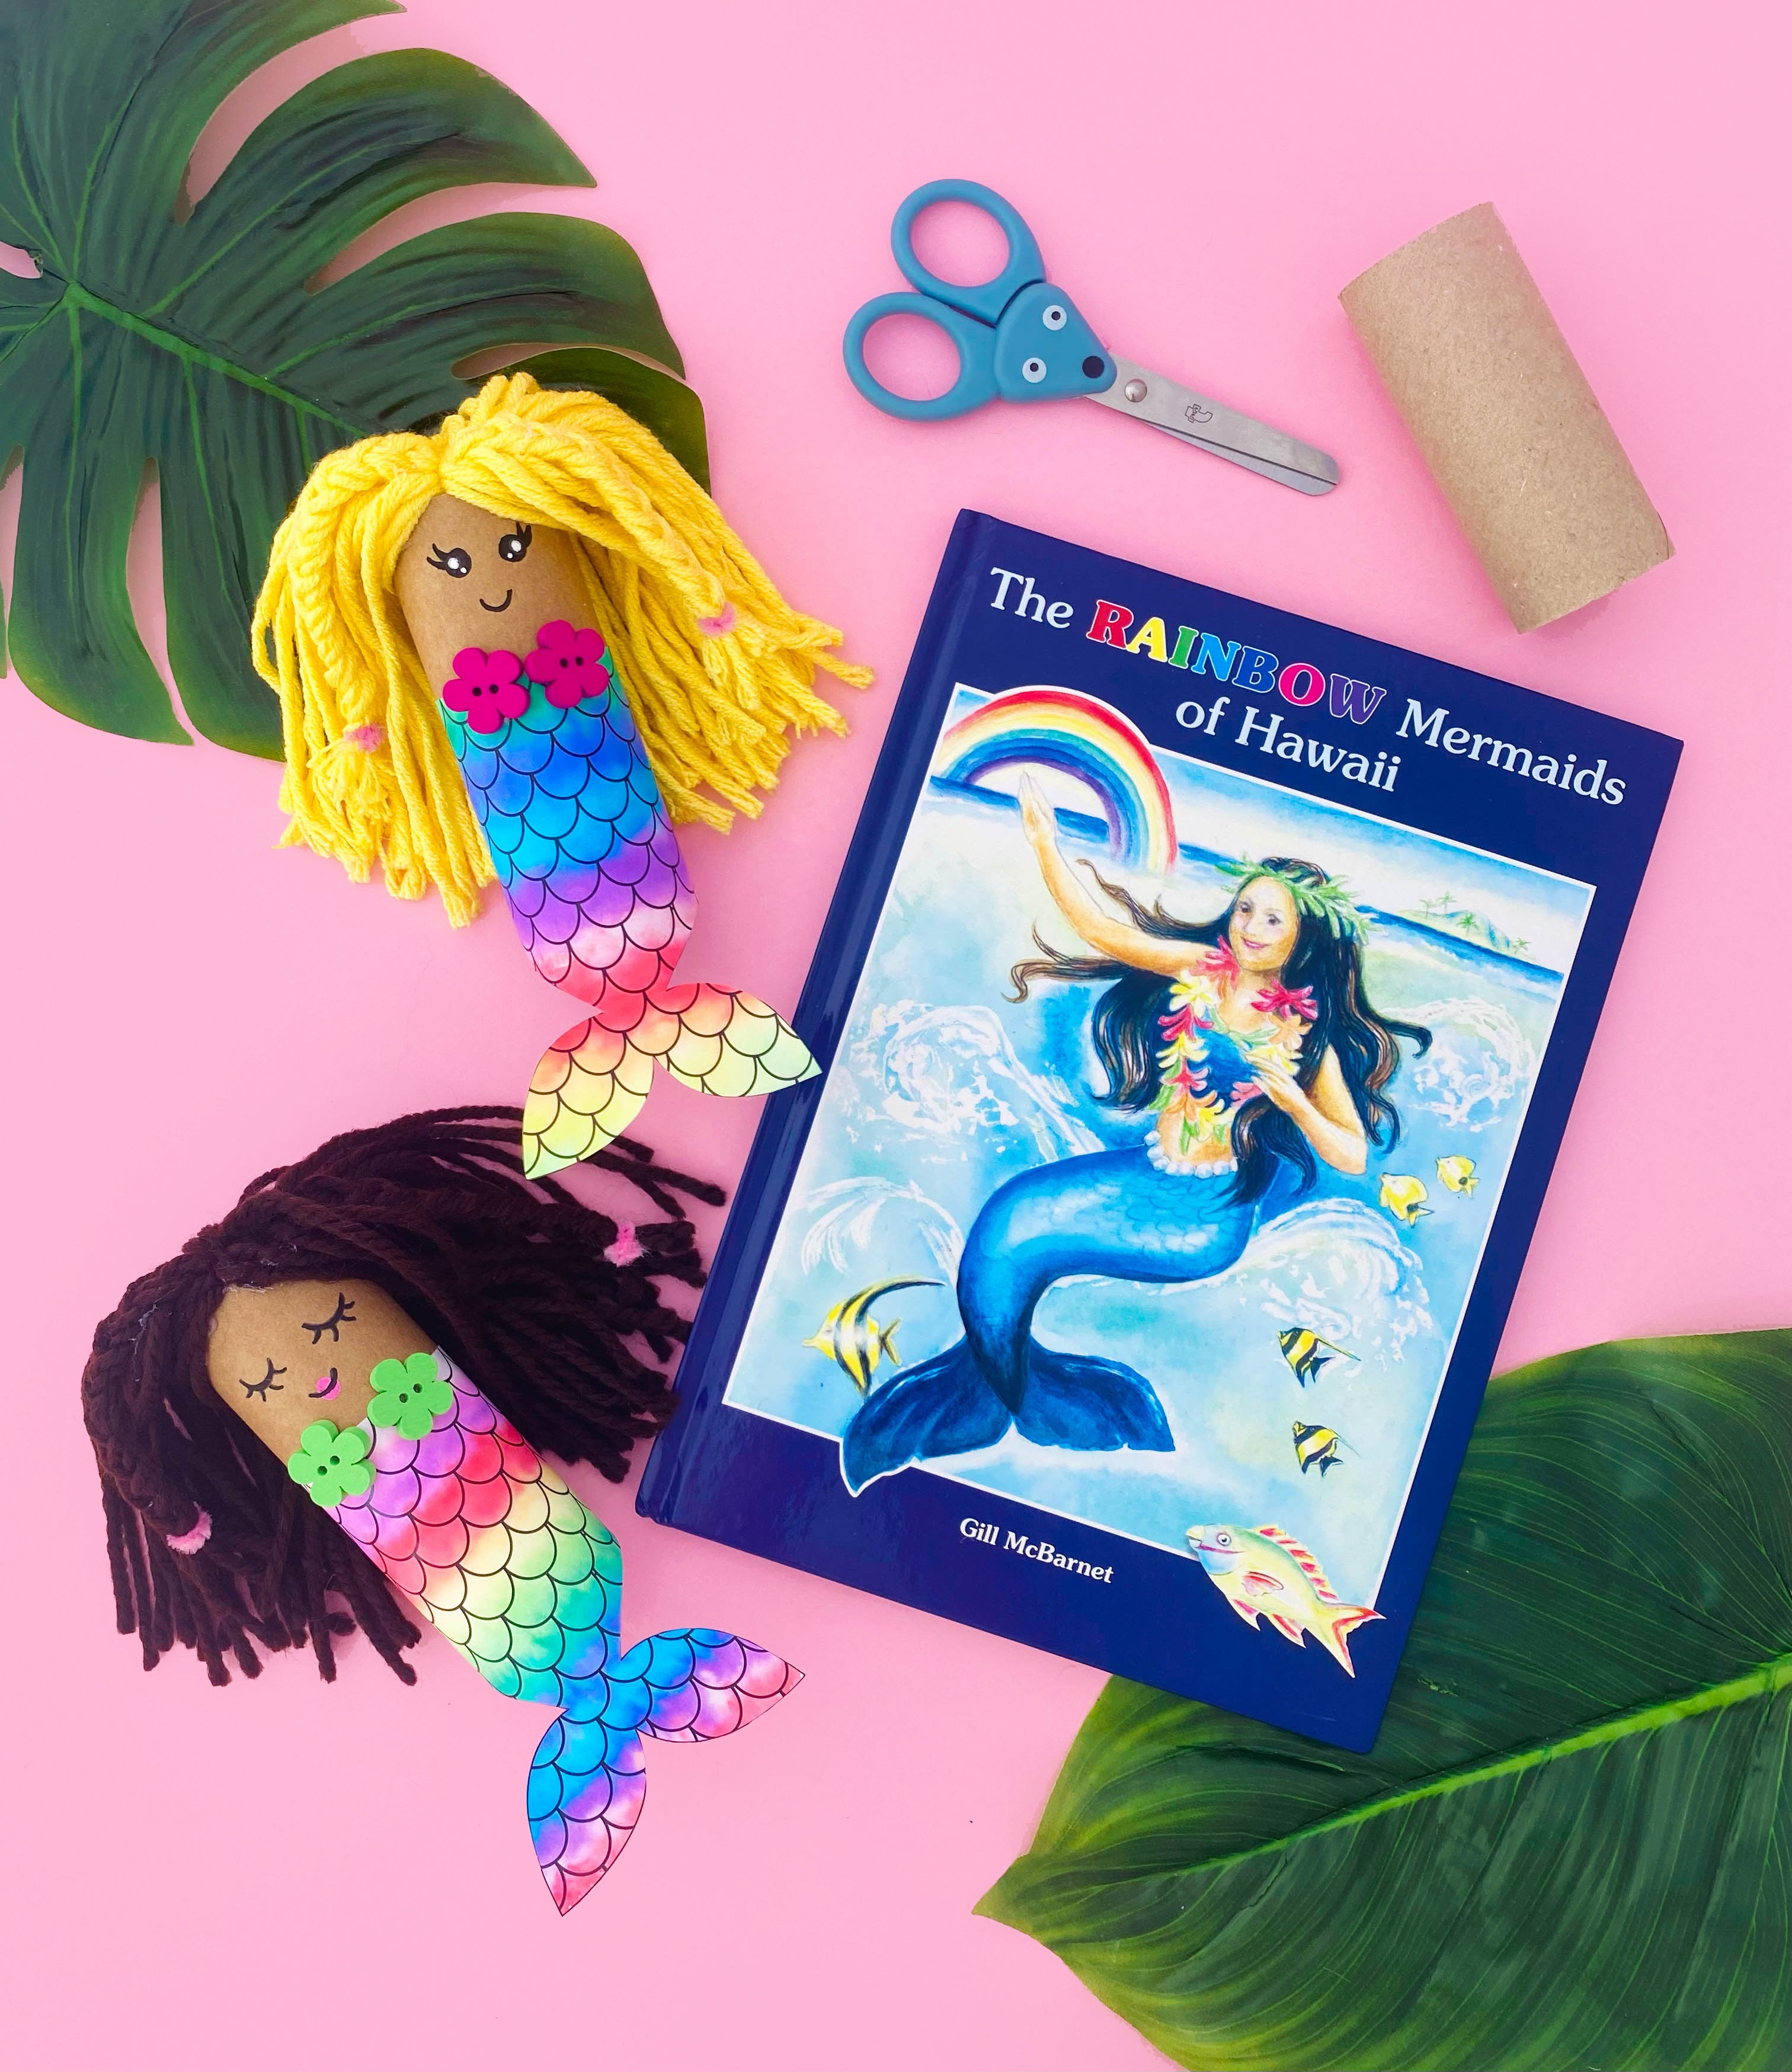
The Rainbow Mermaids of Hawai'i: A Mermaid Craft by @OceanChildCrafts
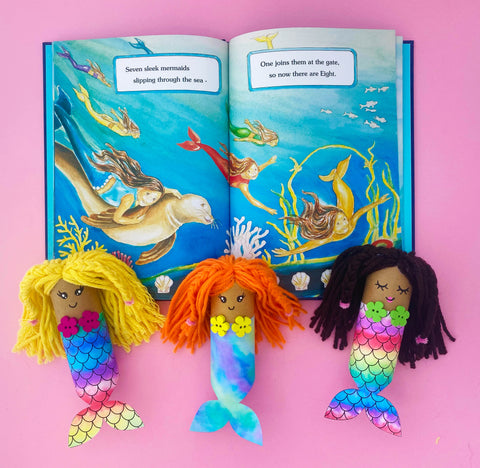
These colorful rainbow mermaids created from a paper roll are inspired by the book; Rainbow Mermaids of Hawaii. We will show you a fun trick on how to create these beautiful rainbow tails. You only need colored markers, tin foil, and a water spray bottle. To make the crafting process easier for you, we created a free printable of the mermaid tail. You can download the printable HERE! If you print the printable, we highly recommend using heavy printing paper with a satin finish for the best results. The thickness of the paper and the satin finish will ensure that the rainbow colors blend nicely. So, gather the craft supplies below and create this fun summer craft. Happy crafting!
Craft supplies:
- Mermaid tail printable
- Tin foil
- Colored markers
- Water spray bottle (for hair or plants)
- Paper roll
- Colored yarn, any hair color you like
- Buttons, shells, or paper (for the mermaid bra)
- Scissor
- Glue (glue stick and hot glue)
- Black sharpie or fine liner
Step-by-step craft instructions
Step 1: Gather the craft supplies above and print the printable. You can download the printable right here. If you print the printable, we highly recommend using heavy printing paper with a satin finish for the best results.
Step 2: Decide which mermaid tail you would like to create. The tail with scales or without. Think of the colors you would like to use, all rainbow colors or just a few shades.

Step 3: Take a piece of tin foil about twice the size of your mermaid tail. And start coloring the foil with colored markers. Ensure you cover the entire page; see the picture. Use bright colors for the best result.


Step 4: When your tin foil is fully covered with colorful markers, you´re going to spray your tin foil with water. Don´t use too much water but make sure the colors blend nicely.
Step 5: Lay the printable of your mermaid tail on top of the tin foil and pad the backside to ensure you have a lovely print.
Step 6: Lift your print so your colorful tail will be revealed. When you're happy with your print, let your mermaid tail dry. Now that you know how it works, you can try out different mermaid tails.

Step 7: Take your paper roll, if you like, you can give the paper roll any skin color you want with paint or paper, but you can also leave it as it is.
Step 8: When your mermaid tail is dry, you can cut the tail out on the black outlines.
Step 9: Glue the mermaid tail around the bottom of your paper roll. Leave the top of your paper roll (1,75 inch or 4 CM) free.
Step 10: With yarn, we will make the mermaid's hair. You can use any color you like. To make the hair wrap the yarn around a book. We used The Rainbow Mermaids of Hawaii; this book has a height of 10 inches (25 CM). Wrap your thread 30 times around the book; see the picture.

Step 11: Take the yarn off the book, fold it half, and knot your thread in the middle. Make sure you cut the ends so your hair is nice and even; see the picture.


Step 12: Glue the yarn on your mermaid's head. We used hot glue to ensure the thread sticks well on your paper roll. Make sure to supervise or help your child when using hot glue.
Step 13: Give your mermaid a shell bra with two shells, buttons, or sequins. If you don´t have anything at home, you can use colored paper.
Step 14: Last but not least, give your mermaid a cute face.

To celebrate this beautiful craft tutorial, we have a special promotion! For a limited time, you can order "The Rainbow Mermaids of Hawai'i" with a complimentary autograph from our Author, Gill McBarnet! We hope you enjoy reading & crafting!!
0 comments